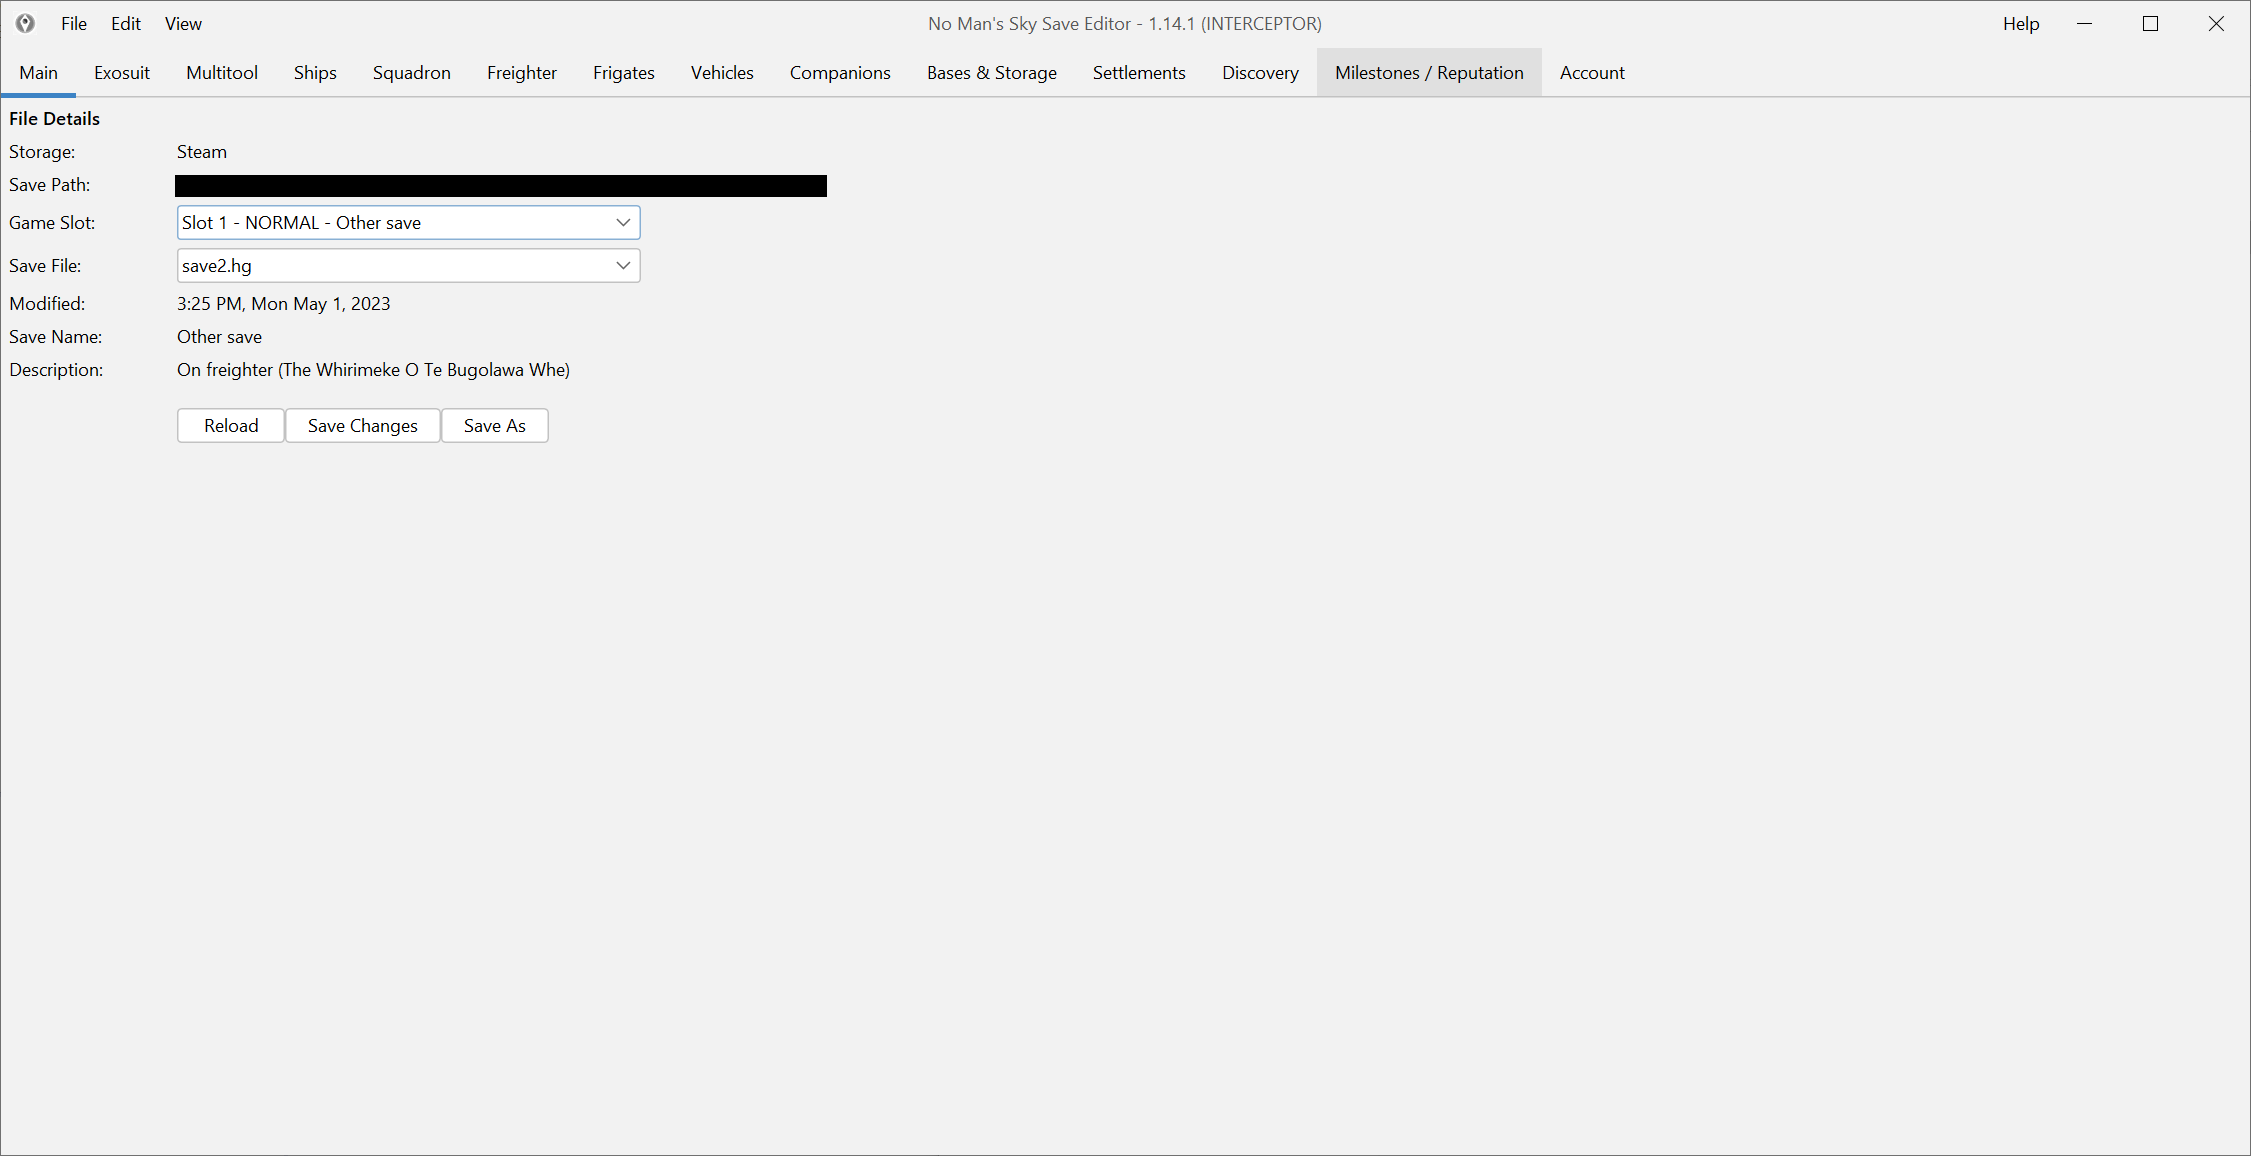
If the normal Windows build does not open, the safest fallback is to run the JAR version manually. This guide shows the exact Windows path step by step, without skipping the Java setup.
1. Install Java 8
To run the JAR version of NMSSaveEditor, you need Java 8 installed on Windows.
Before you open the editor, install Java first.
I recommend the official Temurin 8 download page:
On that page, choose:
Windowsx64- the normal installer for a first setup
After the installation finishes, close the installer completely before you move to the next step.
2. Download and extract the Windows archive
If you do not have NMSSaveEditor installed yet, open the main Download and install page.
From there:
- Download the Windows archive.
- Extract it into a normal folder.
- Try the compiled Windows launcher first.
- If that launcher does not open, use the bundled
NMSSaveEditor.jarfrom the same extracted folder.
You do not need to go back and download the JAR separately if it is already inside the Windows archive.
3. Put the file in a normal folder
Do not run the editor from inside a ZIP window, a browser download bar, or a temporary location.
Create a normal folder first, for example:
C:\Games\NMSSaveEditorAfter extraction, that folder should contain the Windows files and the bundled NMSSaveEditor.jar.
This matters because the editor should run from a normal local folder, not from an archive preview.
4. Check that Java works in Command Prompt
Open:
Win + R -> cmd
Then run:
java -versionIf Java is installed correctly, Windows will show the Java version.
If the command is not recognized, do not continue yet. Install Java first, or reinstall it and make sure the installer added Java to the system PATH.
5. Run the editor with java -jar
In the same Command Prompt window, run:
cd /d C:\Games\NMSSaveEditor
java -jar NMSSaveEditor.jar
This is the most reliable Windows launch method because it does not depend on .jar file associations.
If Java is working and the path is correct, the editor should open after this command.
6. Open the correct save folder
When the editor starts, point it to the folder that actually contains your saves.
For Steam / GOG, use:
%AppData%\HelloGames\NMSFor Game Pass, use:
%LocalAppData%\Packages\HelloGames.NoMansSky_bs190hzg1sesy\SystemAppData\wgsIf the editor opens but cannot see your saves, the most common cause is the wrong folder, not the JAR file itself.
If you need more save-path help, use Find your save files.
7. Test one small change first
Before you do large edits, test something simple first:
- open the correct save,
- make one small visible change,
- save it,
- launch the game,
- confirm that the change is there.
NMSSaveEditor creates automatic backups, but before serious edits I still recommend keeping a manual copy of the save as well.
Error: cannot access the specified device, path, or file
If Windows shows cannot access the specified device, path, or file, check these first:
- the file is inside a normal local folder,
- your Windows account has access to that folder,
- Windows Defender or your antivirus is not blocking the file.
In many cases, this is a file access problem, not a problem with the editor itself.
If nothing happens after launch
If double-clicking the file does nothing, run the editor through cmd instead of trying the same click again.
That is exactly why the command-line step above matters: the console usually shows the real Java error instead of failing silently.
Also check whether the editor created:
NMSSaveEditor.logIf that file exists, it can help explain why the launch failed.
If the window flickers or the interface renders badly
On some Windows 11 systems, Java applications can show visual problems such as flicker, broken repainting, or corrupted-looking UI elements.
If that happens, the problem is usually not your save file and not the installation path. It is usually a Java or Windows rendering issue on that specific system.
Video walkthrough from the JAR step
This embedded video starts from the point where the walkthrough reaches the bat / JAR launch path and then moves into the Java install.